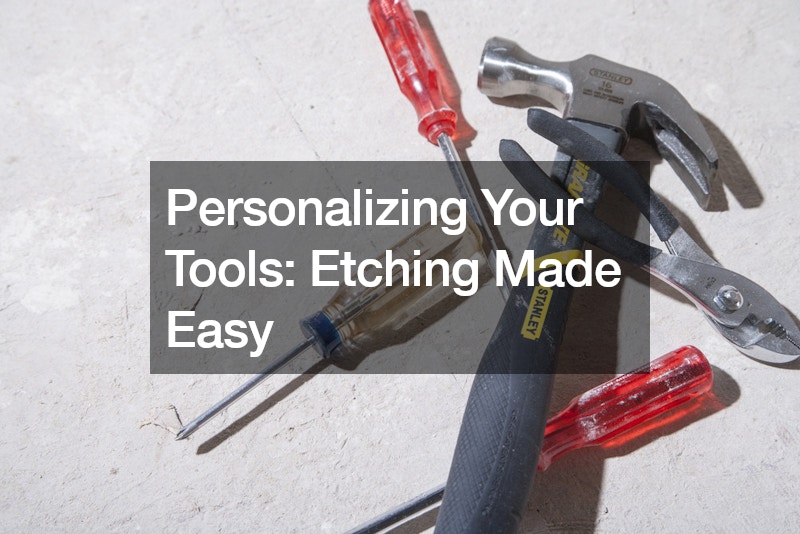
Tired of squinting to read the size on your sockets? Ever wished your tools had a touch of your personality? With a surprising combination of household items, you can etch metal to personalize your tools and other belongings. This simple process allows you to create clear markings and even add logos or designs.
The magic ingredient for metal etching is electrolysis, which uses electricity to break down the metal surface. To get started, you’ll need a 12-volt DC power source (like a car battery charger), stencils for etching metal, cotton swabs, saltwater solution (vinegar and water with salt work well), and safety gear like gloves and glasses.
Stencils for etching metal come in pre-made designs or you can create your own using stickers and nail polish. Once you have your chosen stencil, clean the metal surface and secure the stencil firmly.
Soak a cotton swab in the saltwater solution and connect it to the positive terminal of the power source with an alligator clip. Attach the negative terminal to the bare metal of your object.
With safety glasses on, carefully touch the wet cotton swab to the metal where the stencil cutout is. A slight sizzling sound and some bubbling indicate the etching process is underway. Keep the swab moving to avoid creating deep pits. After a few seconds, lift the swab and check the etching progress. Repeat until the desired depth is achieved.
Once finished etching, remove the stencil and clean the area with rubbing alcohol. You can then use a marker to darken the etched area for better visibility. The marker ink will seep into the etched grooves and remain even after wiping the surface.
Metal etching isn’t just for tools. It can be used to personalize anything from a water bottle to a metal sign. With stencils for etching metal and a little creativity, you can transform any ordinary object into something uniquely yours. So why not ditch the store-bought personalized gifts and create something special using this fun and easy technique?
.

